Firstly, we didn't know how to use raspberry pi 4, so what we did was making a LED light. Of course using raspberry pi 4 system. At first, we thought that this would be easy, because we used arduino months ago, but when we tried we noticed that raspberry pi has some differences with arduino.
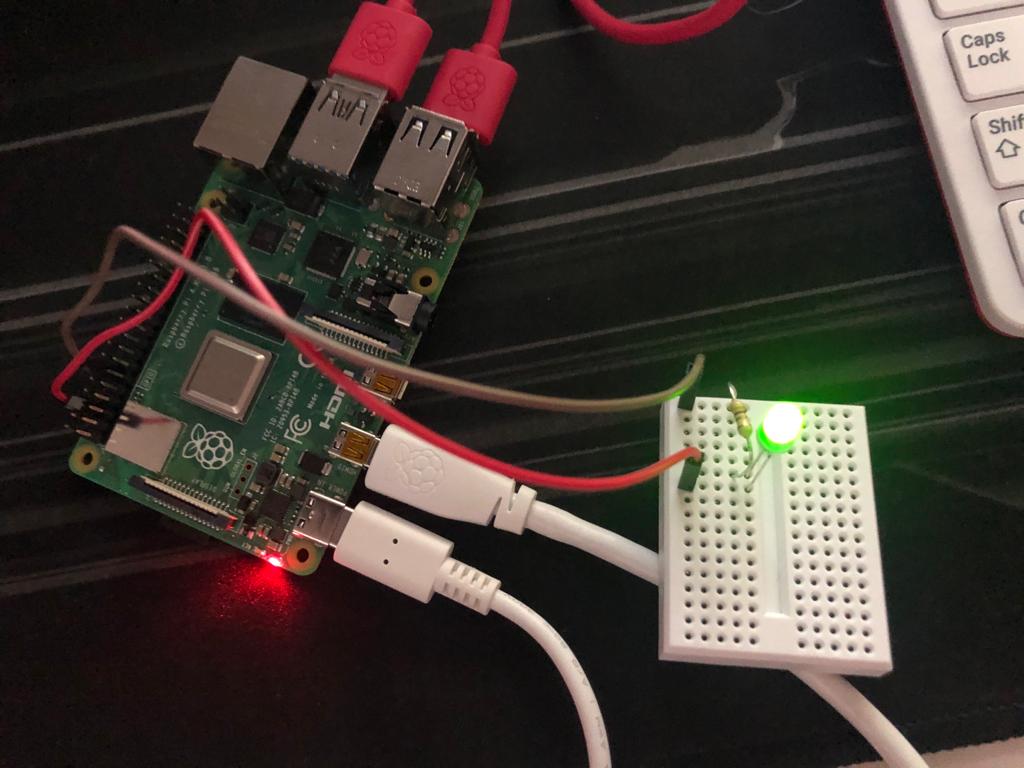
After a couple of tries, we did it. The way was quite simple. After we connected all the cables to the protoboard, we have to connect all of them to a resisitence. And this resistence is what gives connection to the LED, that always has polarity because it is a light emitting diodes.
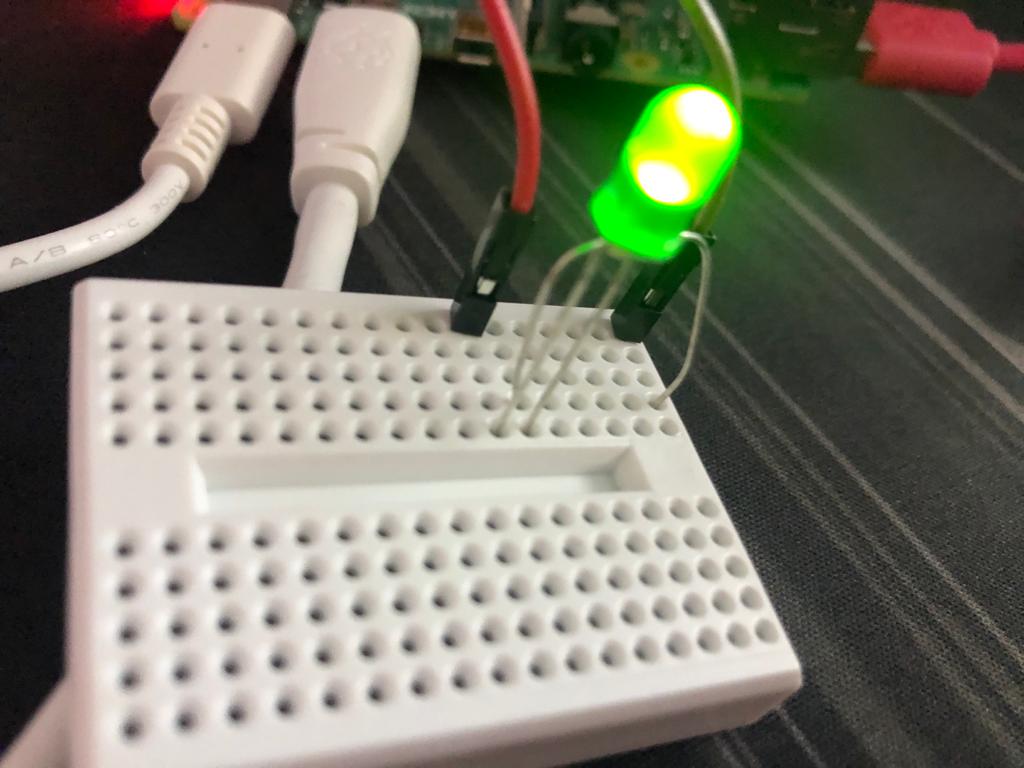
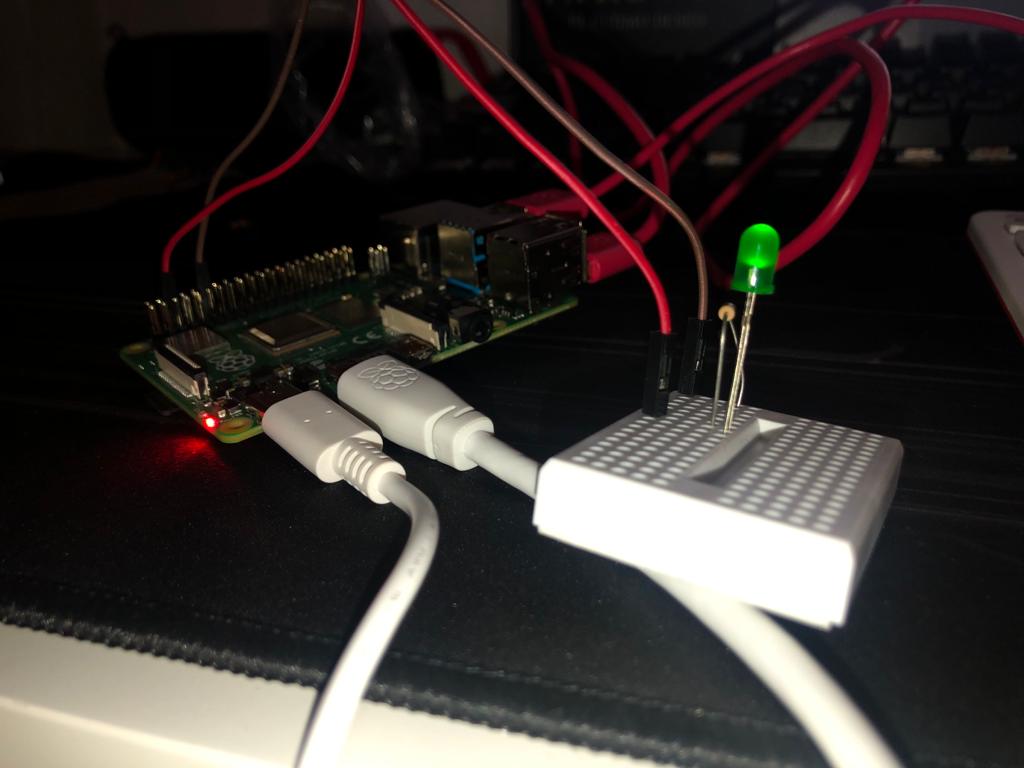
This picture shows the LED without the code introduced on raspberry pi 4.
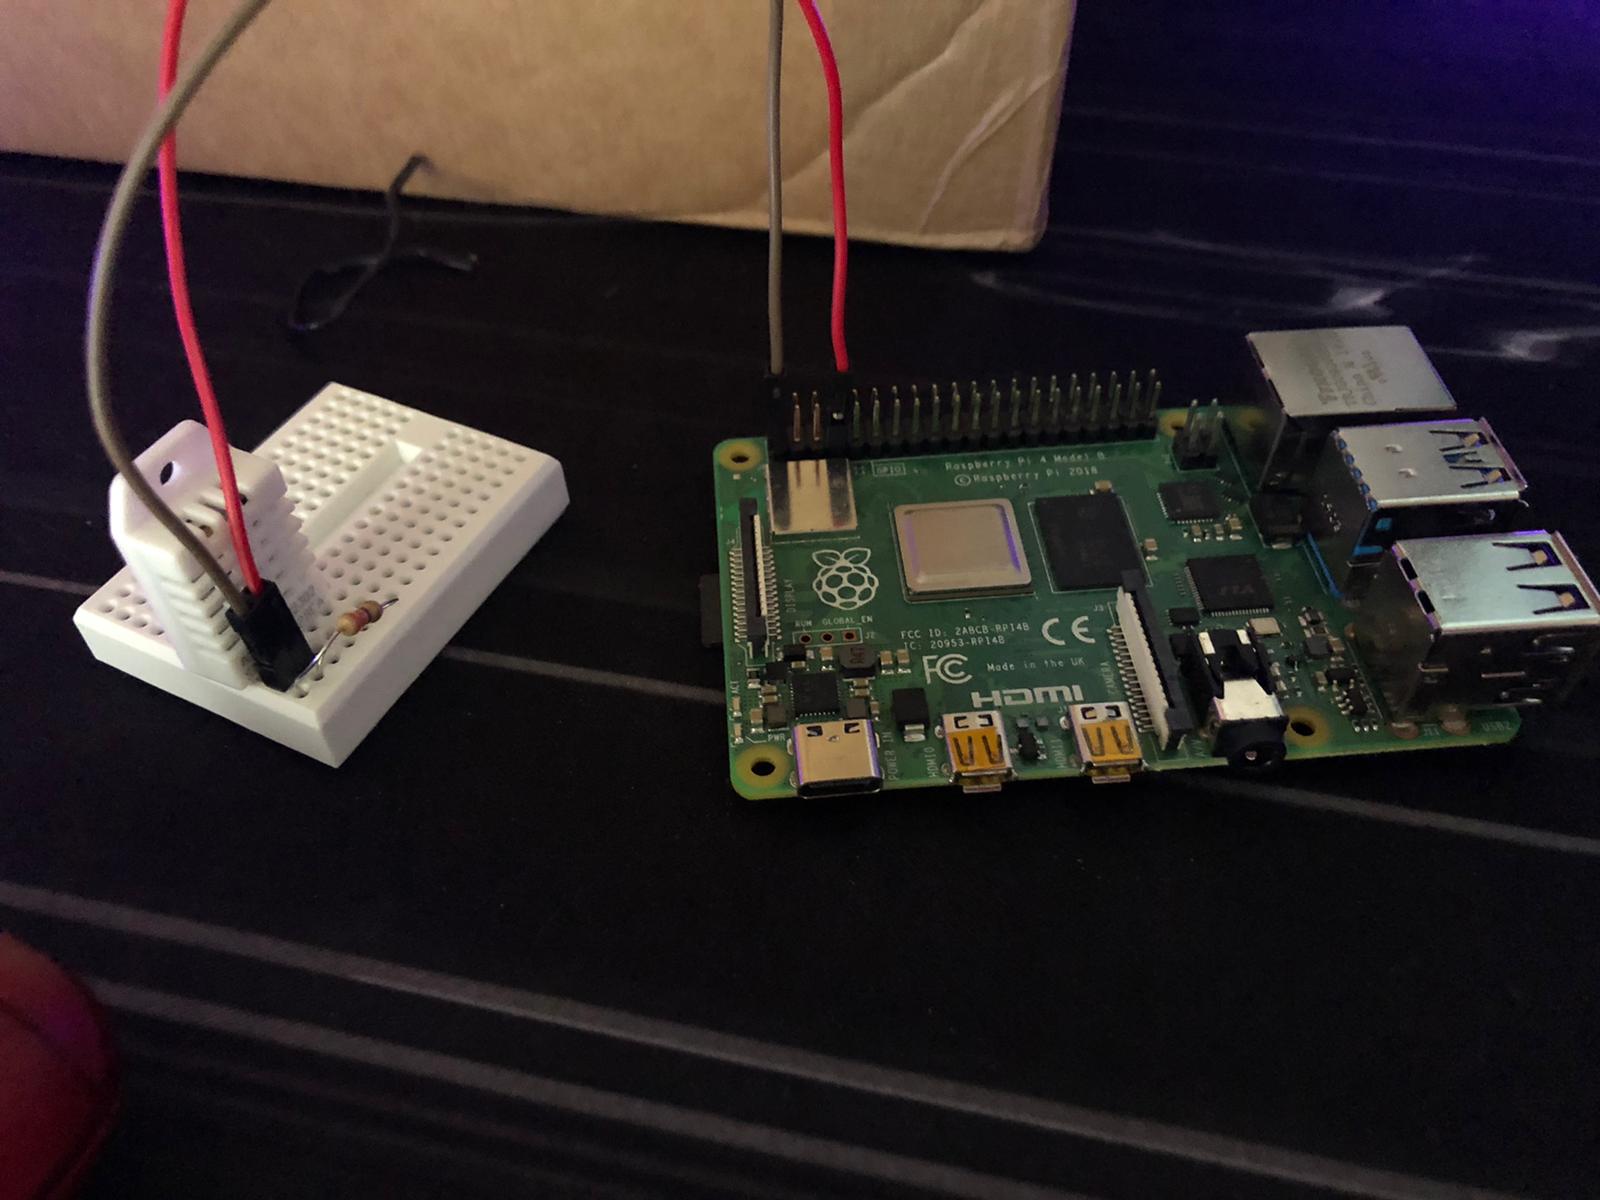
Here is how we connected DHT22 to the protoboard, as you can see the cables are vertical to the DHT22 as the resistence.
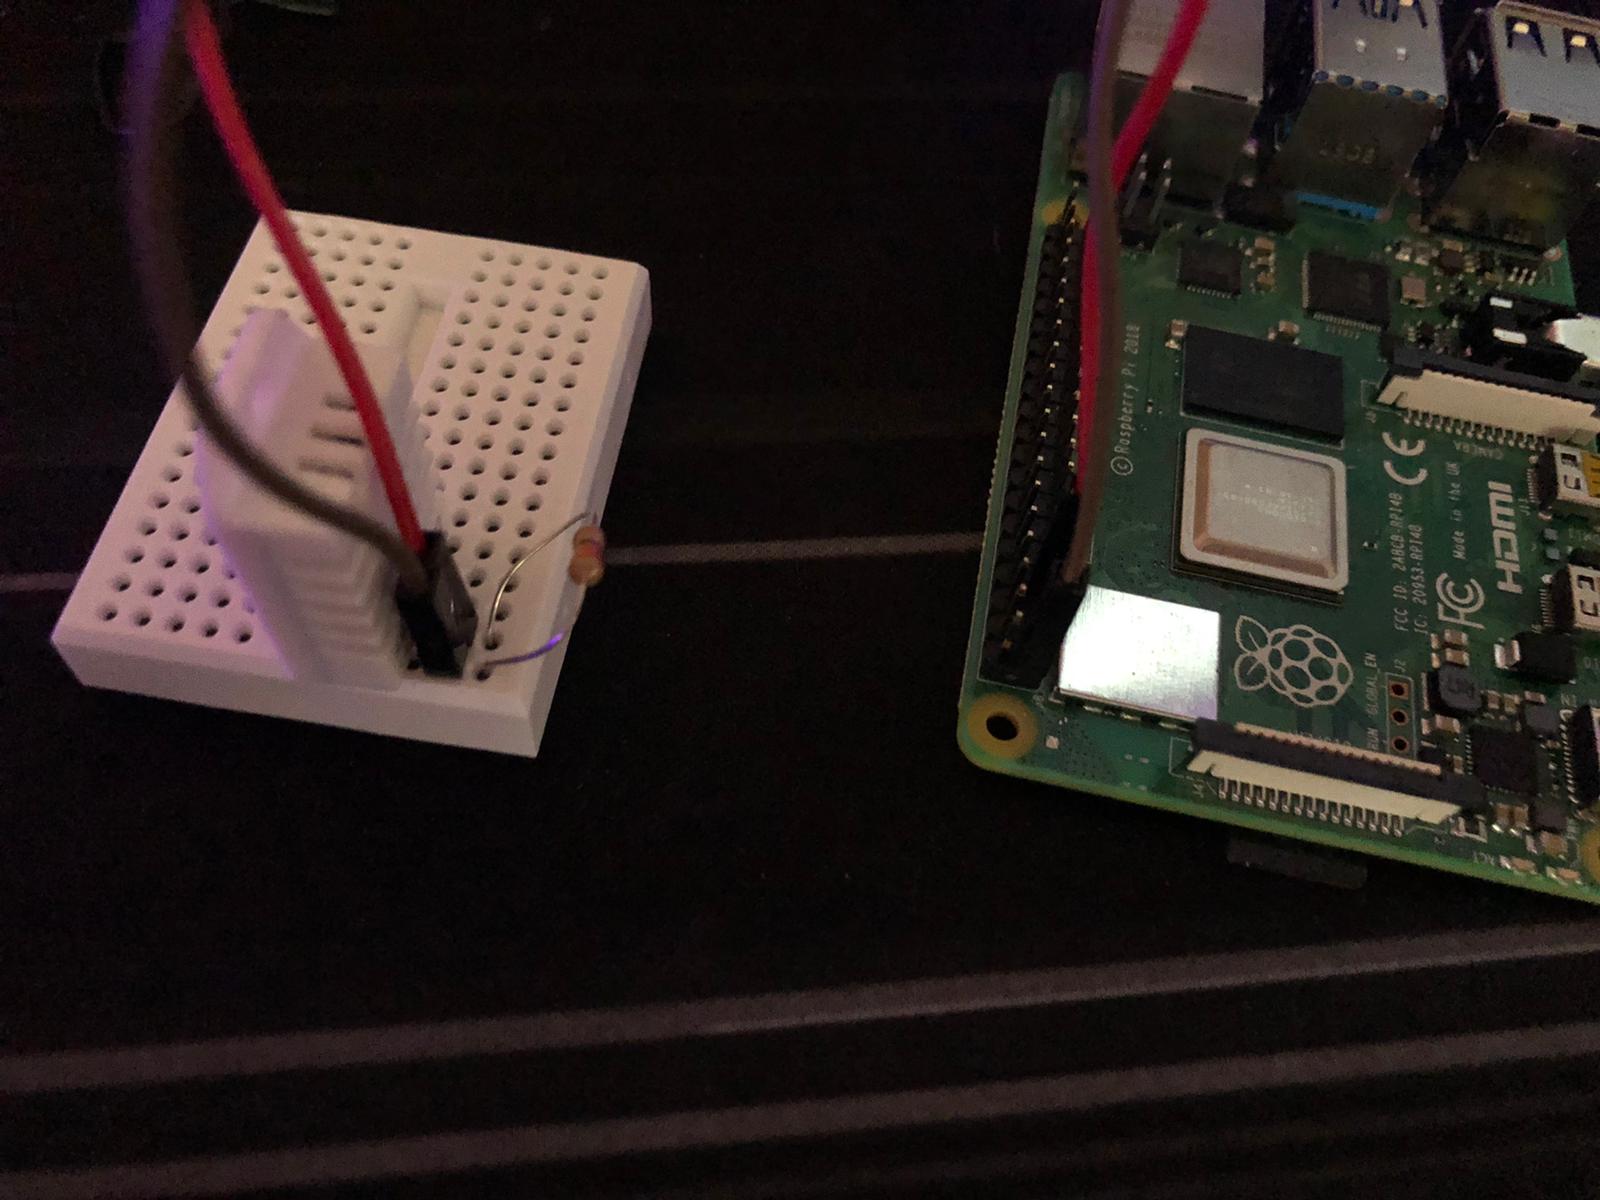
Another picture of how we connected DHT22
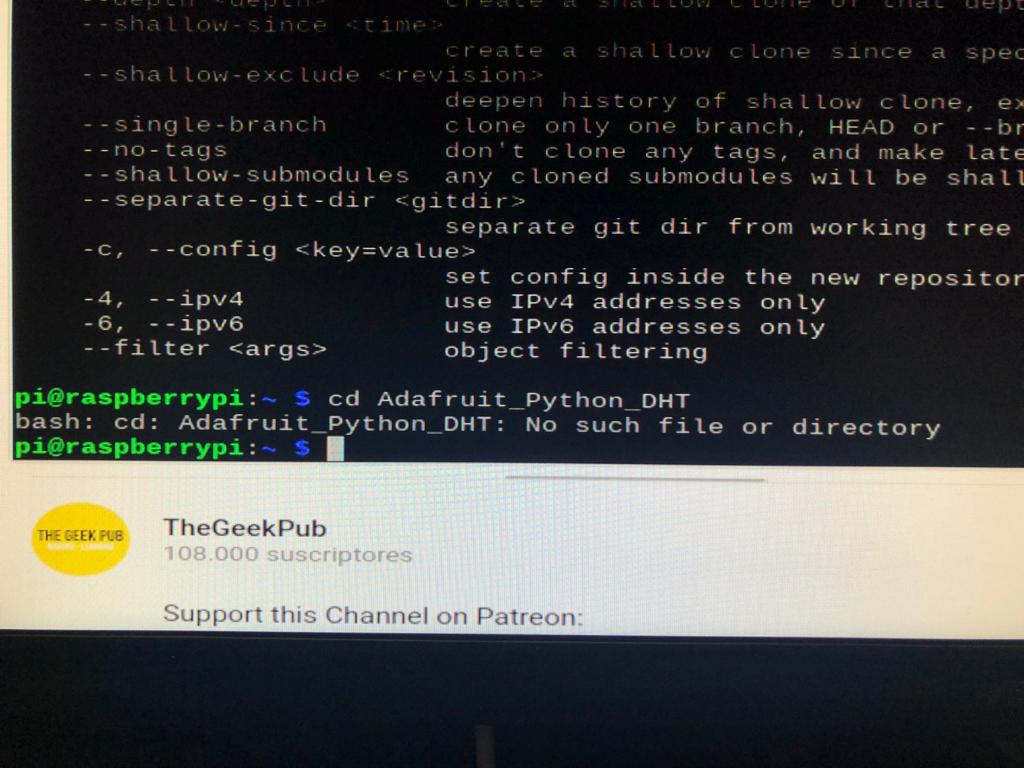
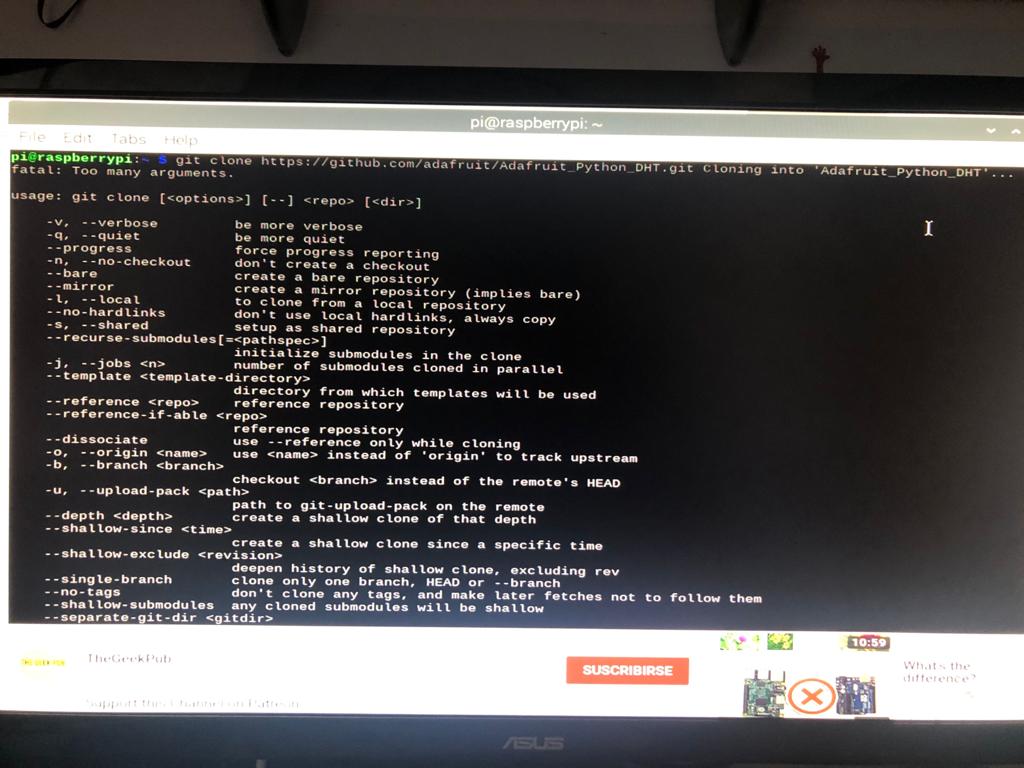
This is the code we used to make DHT22 work but it gives us errors, also, we had to restart a few times raspberry pi becasue it was lagging a lot and we can't do anithing.
Here is the entire code we used.
Doubts & Hipothesis:
We know how to connect all the cables to the raspberry, also we know how to enter to the menu of raspberry. Even we know how to connect DHT22 sensor to raspberry. But we didn't know the instructions to make DHT22 work properly. We suppose that we are connecting badly DHT22 sensor, also we looked for informartion in the books but it doesn't fit to the way we connected DHT22, because they use another way of connecting DHT22 or the codes they use when we try it it gives us error, as you con see in the images above.